 MortarDesk
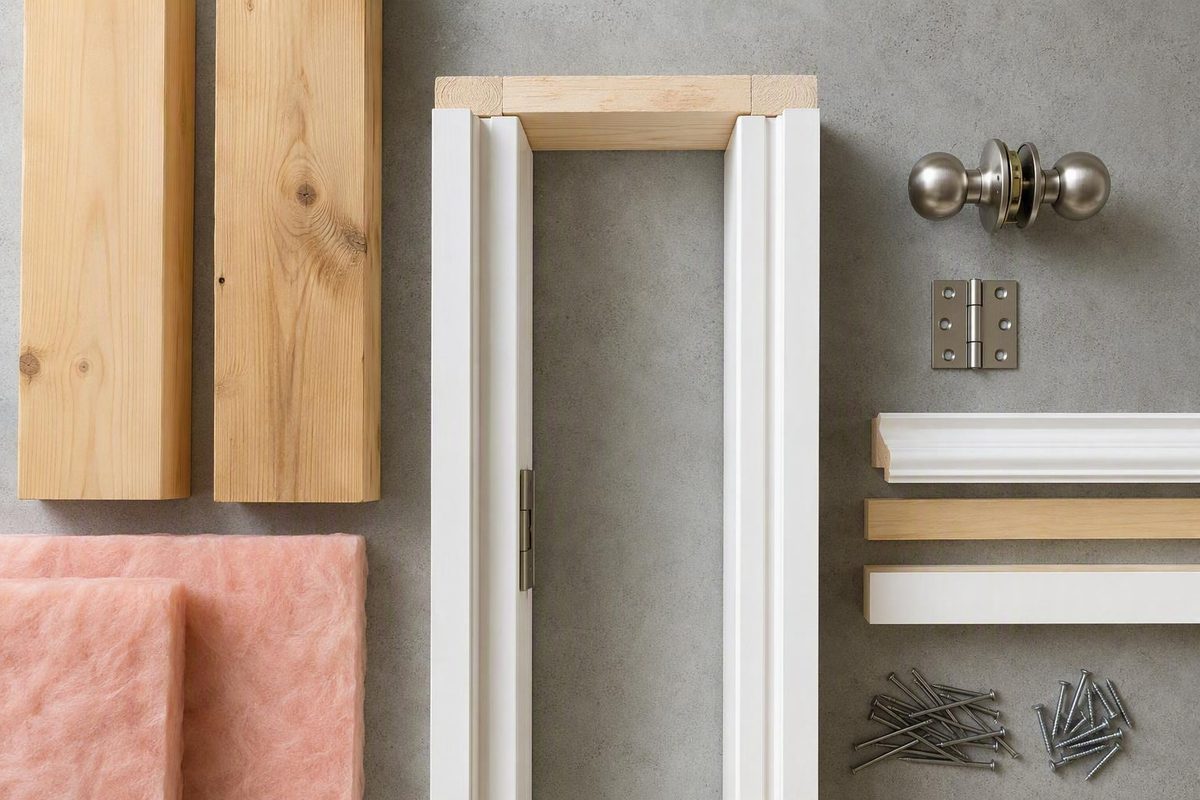
The short answer: common jamb widths are 4-9/16 and 6-9/16 inches
There is no single standard door jamb width that fits every residential opening. As a shopping starting point, 4-9/16 inches is common for a conventional finished 2×4 wall, while 6-9/16 inches is common for a finished 2×6 wall and some block or masonry assemblies. These are common product conventions—not dimensions required for every wall or building-code rules established by the available guidance (compare common jamb-depth applications).
A nominal description such as “2×4 wall” or “2×6 wall” is only a starting point. Drywall, plaster, tile, paneling, sheathing, stucco, masonry and previous remodeling can all change the finished thickness.
The governing dimension is the actual distance the jamb must span between the relevant finished wall faces. If that measurement does not match a familiar stock size, do not automatically round it to 4-9/16 or 6-9/16 inches. Identify the jamb design, then check the selected manufacturer’s available depths, measurement method and permitted tolerance.
What jamb width means—and what it does not mean
Door sellers commonly use jamb width and jamb depth for the wall-spanning dimension of the frame. In this article, both terms mean the distance across the jamb corresponding to the complete finished-wall thickness.
Imagine a horizontal section through the wall and doorway. The jamb extends through the opening from one relevant wall face to the other. Its edges need to meet the intended wall or trim interfaces so that casing and other finishing components can be installed as designed.
Jamb depth is not the same as:
- Door slab width: the measurement across the movable door.
- Clear opening: the usable passage when the door is open.
- Overall frame width: the horizontal dimension across the assembled frame.
- Rough-opening width: the framed opening into which a prehung unit is installed.
- Casing width: the visible breadth of the decorative trim.
- Jamb face width: the width of an individual surface or profile within the jamb.
- Door thickness: the measurement across the edge of the slab.
Decorative casing is generally excluded from jamb depth. It overlaps the wall and frame after installation but does not ordinarily define the wall-spanning frame dimension.
Existing casing can, however, hide the points that need to be measured. Removing a short piece of trim may expose the wall edges and jamb profile clearly. If removal is impractical, measure from the visible jamb edges carefully and tell the supplier that the measurement was taken with the trim in place.
Do not substitute a rough-opening measurement for jamb depth. Rough-opening width and height determine whether the assembled unit can fit into the framed opening. Jamb depth determines whether the frame can span the wall assembly. A replacement-door order may require both sets of dimensions, but they answer different questions.
Common jamb sizes by finished wall construction
The following table is a shopping reference, not a universal sizing standard. The final order should follow the measured wall and the specification for the selected frame.
| Common jamb depth | Typical wall assembly | Verification note |
|---|---|---|
| 4-9/16 inches | Conventional finished 2×4 wall, commonly associated with 1/2-inch drywall | Treat this as a stock starting point. Measure the complete finished wall rather than ordering from the nominal stud label (see the jamb-width guide). |
| Approximately 5-1/4 inches | Some exterior or specialty assemblies with added depth or different profile requirements | This is a product-specific option, not an automatic substitute for 5-1/2 inches. Reeb lists a 5-1/4-inch exterior-jamb configuration alongside other depths. |
| Approximately 5-1/2 inches | Some 2×4 walls with thick drywall, stucco, siding buildup or other added layers | Identify which surfaces the supplier expects the jamb to span. Do not assume that 5-1/2 and 5-1/4 inches are interchangeable. |
| 6-9/16 inches | Typical finished 2×6 wall or some block-wall assemblies | Confirm the complete finish thickness and whether a masonry opening needs a standard, extended or custom detail. |
| Measured nonstandard depth | Plaster, tile, paneling, masonry, remodeled walls or unusually thick assemblies | Direct measurement is essential. Depending on the selected system, an extension, split or custom jamb may be appropriate. |
Why do both 5-1/4 and 5-1/2 inches appear for walls with additional buildup? A quarter-inch difference matters when the jamb is intended to align with finished surfaces, so neither size should be selected merely because it is described as an intermediate option.
The same caution applies to masonry. A 6-9/16-inch jamb may fit some block assemblies, but “block wall” does not define the thickness of interior finishes, furring, exterior coatings or the frame-to-masonry detail. Measure what the chosen frame must actually span.
Why manufacturers list slightly different dimensions
Recurring catalog dimensions are product conventions rather than one mandatory, industry-wide standard. That is why apparently similar 2×4 walls may be paired with either 4-9/16-inch or 4-5/8-inch jambs.
Sun Mountain, for example, lists a 4-5/8-inch conventional flat interior or rabbeted exterior jamb for 2×4 studs with 1/2-inch sheetrock. It lists 4-7/8 inches for 2×4 construction with 5/8-inch sheetrock, as well as 6-5/8- and 6-7/8-inch conventional options for corresponding 2×6 assemblies (compare the manufacturer’s jamb dimensions). Those are manufacturer specifications, not evidence that the more familiar 4-9/16- and 6-9/16-inch products are wrong.
Differences can reflect:
- The manufacturer’s jamb profile
- The assumed wallboard thickness
- Flat, rabbeted, kerfed or other construction
- Interior versus exterior use
- Stop, inset or weatherstrip arrangements
- The intended relationship between the frame and adjacent finishes
Intermediate sizes show the same variation. Reeb displays a 5-1/4-inch exterior jamb, while other product guidance associates 5-1/2 inches with certain thick-finished 2×4 assemblies. Without the relevant section drawing, there is no sound basis for treating those dimensions as interchangeable.
Kerfed jambs are a separate sizing case. A kerf is a slot that allows drywall or associated corner treatment to integrate with the jamb, often creating a caseless opening. Because the wall finish terminates differently, a kerfed jamb’s listed dimension can differ substantially from the conventional flat or rabbeted dimension for the same nominal framing. Do not combine dimensions from the two systems.
Before comparing prices or placing an order, identify:
- The nominal and measured wall construction.
- Whether the jamb is flat, rabbeted, kerfed, split or extension-based.
- Whether it is intended for an interior or exterior unit.
- Which finished surfaces define the manufacturer’s dimension.
- The exact profile or section drawing associated with the product code.
The safest comparison is not “Which catalog number sounds standard?” It is “Which specified profile matches the measured assembly and installation detail?”
How to measure jamb depth before ordering
Measure the wall-spanning dimension directly whenever practical. Use a tape measure or straightedge, and record each result rather than relying on memory.
-
Identify both relevant finished wall faces. Determine the surfaces that the selected jamb is intended to span. In a simple interior partition, these may be the painted drywall faces on opposite sides.
-
Exclude decorative casing. Casing covers the joint around the frame but is generally not part of jamb depth. Do not measure across the outer faces of ornamental trim and call that the wall thickness.
-
Expose the jamb edges where practical. Carefully removing a short piece of casing can reveal the jamb edge, drywall and concealed finish buildup. Avoid damaging materials that will be reused.
-
Measure straight across the wall-spanning dimension. Keep the tape or straightedge perpendicular to the wall faces. An angled measurement will be longer than the true depth.
-
Measure in at least two locations. Check near the top and bottom of a side jamb and, where practical, check the opposite side. Plaster, tile, framing irregularities and remodeling layers can make an opening nonuniform.
-
Record each result to the nearest 1/16 inch. That precision helps communicate small variations, but it does not create a universal 1/16-inch ordering allowance. The selected product’s specification determines the permitted tolerance (see the recommended measuring precision).
-
List the assembly layers. Note drywall, plaster, tile, paneling, studs, furring, sheathing, stucco, masonry and any other material that may affect the specified endpoints.
-
Document an exposed section. A photograph showing a ruler or tape can help the supplier interpret an unusual assembly, but it should supplement—not replace—written measurements.
If casing cannot be removed, measure from the visible jamb edges as carefully as possible and check whether those edges are flush with or offset from the wall. A jamb that has already been extended, packed out or partly buried by a later finish may not reveal its original depth. Tell the supplier how the measurement was taken.
Illustrative arithmetic example
Suppose a simple interior assembly consists of:
- A stud depth of 3-1/2 inches, the common actual depth associated with nominal 2×4 lumber (see the nominal-versus-actual size explanation)
- A 1/2-inch finish layer on one face
- A 1/2-inch finish layer on the other face
The calculated finished-wall thickness is:
3-1/2 + 1/2 + 1/2 = 4-1/2 inches
This is an illustrative layer calculation, not a universal wall specification or an instruction to order a 4-1/2-inch jamb. A common 4-9/16-inch product is slightly deeper, but that difference should not automatically be treated as the required allowance. The product profile, finish condition and manufacturer’s permitted tolerance still control.
A more complicated exterior calculation might involve stud depth, interior board, sheathing and a specified exterior finish interface. Do not add every visible layer indiscriminately. First determine where the frame and exterior trim are designed to terminate.
Pre-order checkpoint: Send the supplier every measured depth, the location of each measurement, a list of assembly layers and the proposed jamb style. Ask the supplier to confirm the appropriate catalog depth, acceptable wall variation and any allowed fitting tolerance before the unit is ordered.
Interior and exterior jambs require different checks
Interior and exterior jambs both need to span the relevant wall assembly, but exterior openings introduce more variables.
For a straightforward interior opening, focus on:
- Actual partition depth
- Drywall or plaster on both faces
- Tile, paneling or other wall coverings near the opening
- Existing extensions or later finish buildup
- Whether the jamb will be cased or kerfed into the wall finish
A conventional partition with uniform drywall is usually easier to assess. Older plaster walls, tiled rooms and remodeled openings may be less uniform, making measurements at several points more important.
For an exterior opening, identify the following before choosing the measurement endpoints:
- Interior drywall, plaster, tile or paneling
- Structural framing or masonry
- Furring or service cavities
- Exterior sheathing
- Stucco or other applied coatings
- Siding or cladding
- Exterior casing or brickmould
- Sill and threshold relationships
- Flashing and weather-sealing interfaces
Published guidance is inconsistent about whether siding belongs within the jamb-depth measurement. US Door & More’s measuring guidance includes exterior sheathing or siding in its description of wall thickness. Other field discussions describe details in which exterior trim determines a different endpoint.
The responsible conclusion is not to “always include siding” or “never include siding.” The selected door system’s section detail must establish the endpoints. A brickmould installation terminating near the sheathing plane may require a different measurement from a trim arrangement that lands over the siding. Thick-wall discussions likewise show why the complete wall-and-trim detail must be given to the supplier rather than reduced to a nominal framing label (see the thick-wall installation discussion).
Exterior frames may also contain product-specific kerfs, insets and thicker profile portions. Request the exact cross-section for the ordered frame, then mark the intended interior and exterior measurement endpoints on that drawing.
What happens when the jamb is too shallow or too deep
A jamb that is too shallow does not reach the intended finished wall face. It may leave drywall edges, framing, shims or part of the rough opening exposed. Casing may also fail to land correctly.
A jamb that is too deep can project beyond the finished wall. That projection may prevent casing from sitting flat or create an awkward transition that requires an approved fitting method. The practical effect depends on which side projects, the size of the mismatch and the jamb profile.
Possible corrections include:
- Extension jamb: additional material increases the effective depth of a shallow jamb.
- Split jamb: interlocking or adjustable frame sections accommodate a range of wall thicknesses.
- Custom jamb: the frame is made for the measured assembly.
- Reworked finish transition: trim or wall finish may sometimes be detailed around a small variation if the selected system permits it.
An extension can be useful when an otherwise suitable jamb falls short of the wall face, but it is not automatically the best solution. The connection must suit the jamb material, finish, casing and door system. A visible extension joint may also be undesirable on stain-grade work.
Split jambs may help with variable or nonstandard walls, while a custom jamb can provide a cleaner result for thick plaster, masonry or heavily remodeled openings.
Do not assume that every oversized jamb can be ripped down. Ask the manufacturer or supplier to confirm the permitted modification in writing, especially when the order depends on field trimming.
A pre-order jamb-size checklist
Use this checklist before buying a prehung or replacement door:
- Confirm the terminology. Ask whether the seller calls the required wall-spanning dimension “jamb width,” “jamb depth” or something product-specific.
- Record the finished-wall depth. Do not order solely because the wall is described as 2×4 or 2×6.
- Measure in multiple places. Record the top, middle and bottom where accessible, as well as both sides if they differ.
- State whether finishes are complete. If drywall, tile, stucco or cladding has not yet been installed, identify each planned layer and its specified thickness.
- Identify the jamb system. Determine whether it is conventional flat, rabbeted, kerfed, split, extension-based or custom.
- Separate the dimensions. Door width, frame width, rough-opening width, casing width and jamb depth belong in separate fields.
- Define exterior endpoints. Ask which sheathing, stucco, siding, masonry and trim surfaces belong within the manufacturer’s measurement.
- Obtain the exact profile drawing. Match it to the product code, frame material and interior or exterior configuration.
- Compare exact dimensions. Do not round automatically to the nearest familiar stock depth.
- Disclose wall variation. Give the supplier every measurement rather than silently choosing the largest, smallest or average value.
- Confirm tolerance. Ask how much wall-depth variation the selected unit can accommodate and whether that allowance changes with the jamb style.
- Confirm modification limits. Determine whether trimming or extensions could affect the frame profile, finish, weather-sealing detail or warranty terms.
- Document critical decisions. For a custom or fit-sensitive order, retain the approved dimensions, drawings and alteration instructions with the order paperwork.
Frequently asked questions
Is 4-9/16 inches the standard door jamb width for every 2x4 wall?
No. 4-9/16 inches is a common residential jamb width, but it is not guaranteed to fit every 2×4 wall (see the common jamb-width reference). Thick drywall, plaster, tile, paneling, stucco, sheathing or previous remodeling can change the required depth.
Measure the finished assembly and compare it with the exact jamb specification rather than ordering from the nominal stud label alone.
What jamb width is commonly used for a finished 2x6 wall?
6-9/16 inches is a common starting point for a typical finished 2×6 wall, but the actual assembly can require a different depth (compare the 2×6 and block-wall pairing).
Exterior sheathing, stucco, masonry, cladding and trim interfaces may change the required measurement. Use the selected manufacturer’s profile drawing for the final choice.
Does door jamb depth include drywall, siding, or decorative casing?
Jamb depth generally spans the relevant finished-wall assembly, so drywall and other wall finishes commonly affect it. Decorative casing is generally excluded because it covers the frame-to-wall joint rather than defining the depth of the frame.
Siding is detail-dependent. Some product guidance includes siding or exterior finish buildup, while other arrangements terminate the jamb at sheathing or another plane and use trim to bridge the remaining layers. Follow the endpoints shown for the selected exterior door and trim system.
Why is one manufacturer’s 2x4 jamb 4-5/8 inches instead of 4-9/16 inches?
The manufacturer may use a different jamb profile, construction method, finish assumption or dimensional convention. Sun Mountain, for example, specifies a 4-5/8-inch conventional jamb for 2×4 studs with 1/2-inch sheetrock (review the manufacturer’s specification).
That does not make a 4-9/16-inch listing from another product line incorrect. Confirm the assumed wallboard thickness and whether the jamb is flat, rabbeted or kerfed, then compare the relevant section drawing with the measured wall.
Can a jamb extension fix a door frame that is too shallow?
It can in some installations. A jamb extension adds material so that a shallow frame can reach the intended finished wall face. Extensions may be considered for thick, remodeled or otherwise nonstandard walls.
Suitability depends on the jamb material, finish, required depth, trim arrangement and door system. Before modifying the unit, ask the manufacturer or supplier to approve the extension detail and attachment method.
Treat 4-9/16 and 6-9/16 inches as useful stock-size reference points, not automatic answers. Measure the complete finished-wall assembly at multiple locations, identify the jamb style and exterior detail, and verify the depth, tolerance and permitted modifications against the exact prehung door or frame specification before ordering.
Mortar Desk publishes general building-material reference information; it is not a door supplier or contractor.
Specifications can change, and unusual or detail-sensitive installations should be confirmed with the manufacturer and an appropriately qualified local professional. Mortar Desk does not provide engineering advice, as explained in its site information.