 MortarDesk
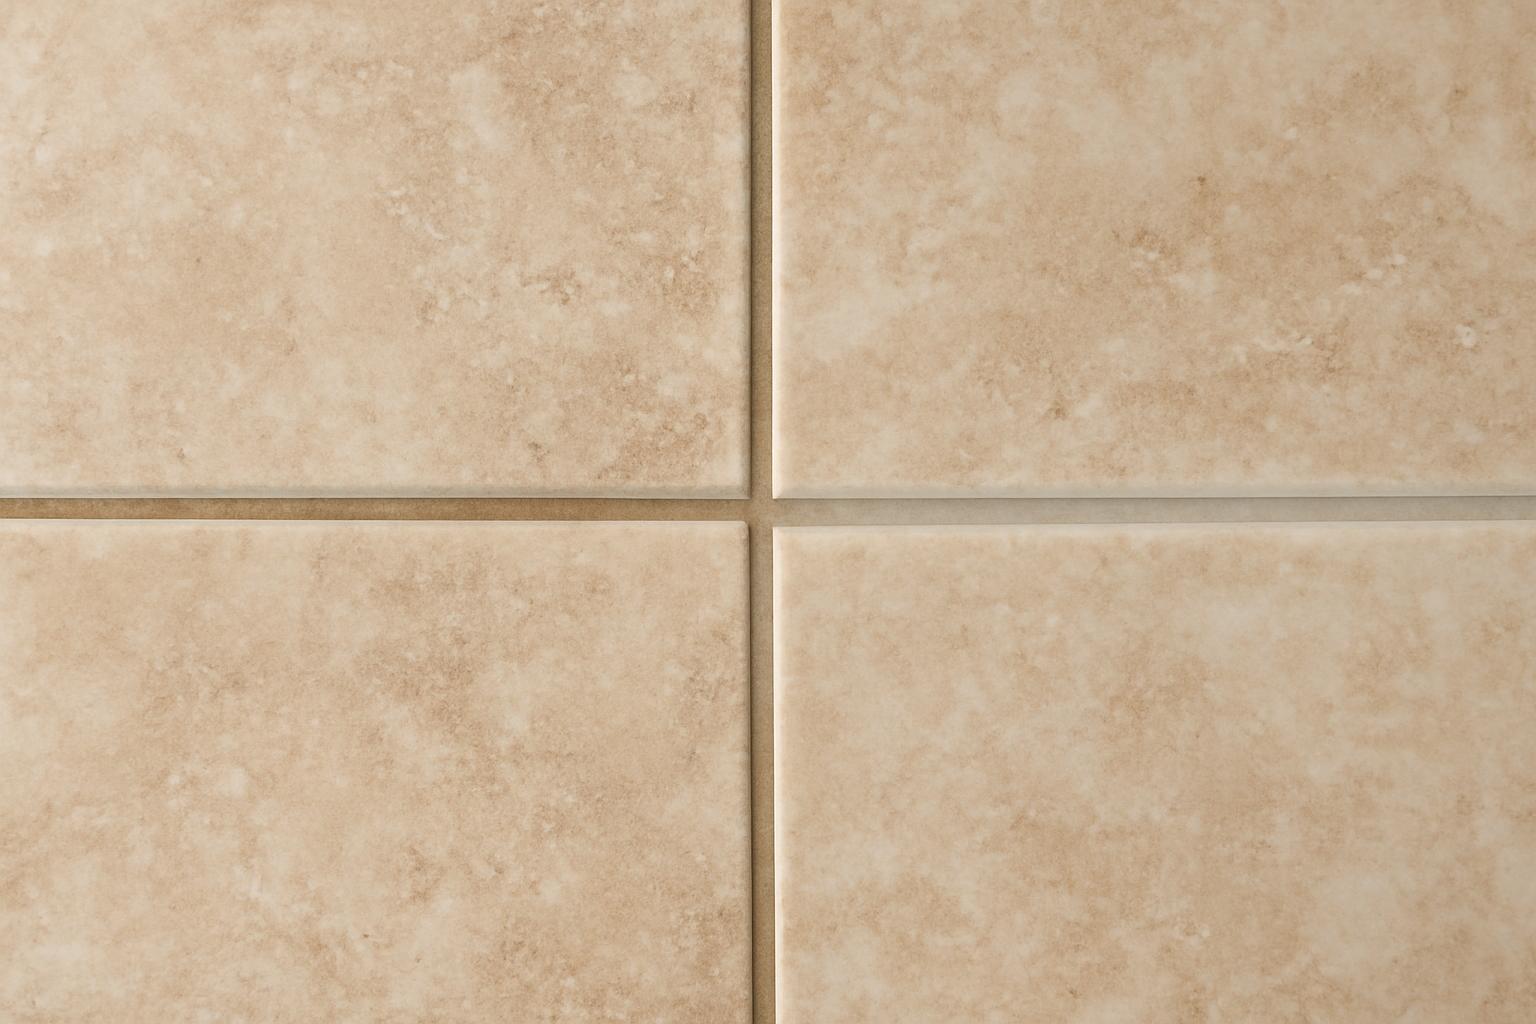
If you are standing in the tile aisle trying to decode the sanded vs. unsanded grout joint-width rule, the shortest accurate answer is this: for cementitious grout, joints smaller than 1/8 inch generally call for unsanded grout, while joints 1/8 inch and larger generally call for sanded grout (TCNA grout FAQ). That rule is the right place to start, but it is not the whole decision.
The close calls happen at exactly 1/8 inch, on scratch-prone tile, and on installations where the tile varies enough that the joint should be wider than the spacer you planned to use. Standards and technical guidance also set a real floor under joint size: grout joints should be no less than 1/16 inch (1.6 mm), and actual joint width should be based on the tile’s size variation rather than aesthetics alone (Custom Building Products technical bulletin).
So the better buying question is not “floor grout or wall grout?” It is: What is the real joint width at the tile body, how consistent are the tiles, where is the tile going, and can the tile face scratch? Get those four answers right and the grout choice usually becomes clear.
| Real joint width at the tile body | Usual cementitious grout choice | Main caveat |
|---|---|---|
| Under 1/8 inch | Unsanded | Best for tight joints and delicate tile |
| Exactly 1/8 inch | Gray area | Floors usually lean sanded; polished or scratch-prone tile often leans unsanded |
| Over 1/8 inch to 3/8 inch | Sanded | Better shrinkage control in wider joints |
| Over 3/8 inch | Wide-joint or more heavily sanded grout | Follow manufacturer instructions |
That quick selector reflects the broad consensus in the tile guidance used throughout this article (Avance Floors grout guide).
Grout Basics: Sanded vs Unsanded Composition and Shrinkage
Sanded and unsanded grout are both cement-based fillers, but they are not interchangeable versions of the same product. Sanded grout includes silica sand along with Portland cement and pigments. That added aggregate changes how the grout behaves as it cures, because the higher aggregate content helps limit shrinkage as moisture leaves the mix.
Unsanded grout leaves out the sand, which gives it a smoother, creamier texture. That smoother body is why it is easier to force into tight joints and why many installer guides prefer it for narrow grout lines, delicate tile, and many vertical applications. MT Copeland’s overview also describes sanded grout as thicker and less shrink-prone, while unsanded grout is easier to apply in narrow joints but more likely to shrink or crack if it is used outside its ideal width range.
For buyers, the practical difference matters more than the ingredient list. Sanded grout is better suited to joints wide enough that shrinkage becomes a real problem. Unsanded grout is better suited to joints narrow enough that sand particles can interfere with packing the grout properly. That is the real divide.
Some consumer and retailer guides describe sanded grout as “stronger.” There is some truth behind that in use, especially in traffic areas, but it is safer to frame the difference more carefully. Sanded grout is not automatically superior in every application. It is generally the better fit for wider joints, where reduced shrinkage helps the joint stay full instead of pulling away from the tile edges.
Unsanded grout, meanwhile, often becomes the safer choice on polished marble, limestone, glass, and other tile faces that can be scratched by sand. So even before you think about the exact number on the spacer, ask two questions: How wide is the joint really, and how delicate is the tile surface?
Grout Joint Width Standards: Minimums and Sizing Formulas
There is a real standards floor for grout joint width. ANSI guidance summarized in Custom Building Products’ technical bulletin states that grout joints should be no less than 1/16 inch (1.6 mm). That same bulletin gives the clearest formula in this evidence set for sizing the joint: the actual grout joint width should equal three times the variance in the tile’s facial dimensions. It also summarizes TCNA recommendations of at least 1/8 inch for rectified tile and at least 3/16 inch for calibrated tile, with additional width added for edge warping (Custom Building Products technical bulletin).
That formula is where many DIY discussions go wrong, so it is worth slowing down. If your tile varies by 1/16 inch, the formula points to a 3/16-inch grout joint. If your tile varies by 1/8 inch, the formula points to a 3/8-inch grout joint. In other words, a tile with noticeable size variation does not become “better installed” because you force it into a tight line. It usually becomes more obviously irregular.
TCNA’s FAQ adds an important nuance: there is not one universal standard joint size for every tile. Joint width also depends on variation from tile to tile, edge shape, tile size, tile surface, location, and the flatness of the substrate. TCNA also notes that many people find a joint smaller than about three times the average variation tends to look irregular and poorly installed.
Measurement point matters too. On cushioned-edge or beveled tile, the usable joint is measured at the base of the bevel or at the tile body, not at the narrow-looking top edge. If you measure only at the top, the installation can appear tighter than it really is while leaving too little space below for proper grout filling and curing.
This is the same practical problem you run into with many building-material dimensions: the named size or visible opening is not always the real working dimension. If that distinction sounds familiar, it is the same logic behind Mortar Desk’s note on actual vs. nominal sizes. In tile work, the point is simple: buy grout for the real joint you measured, not the joint you hoped the spacer would create.
A few practical consequences follow from that standards-based approach:
- 1/16 inch is a minimum, not a design promise.
- Rectified tile can often support a tighter look, but TCNA still points to 1/8 inch minimum for rectified products.
- Calibrated tile usually needs more room, with 3/16 inch minimum often cited.
- Warpage, bevels, lugs, and substrate irregularities can all force the real joint wider than the nominal spacer.
That is why “I bought 1/16-inch spacers” is not the same thing as “this installation should use unsanded grout.” The tile itself still gets a vote.
Sanded Grout: Ideal Joint Widths and Applications
For cementitious grout, sanded grout is the usual recommendation once the joint reaches 1/8 inch. Many installer-facing guides put its practical range at roughly 1/8 inch to 1/2 inch, and TCNA notes that joints larger than 3/8 inch usually need a more heavily sanded or wide-joint grout rather than an ordinary bag of standard grout (Apollo Tile’s grout guide).
The reason is straightforward. Wider joints need bulk, and bulk needs shrinkage control. Sanded grout is more dependable in that range because the aggregate helps the joint stay full as it cures instead of sinking back from the tile edges. That is why sanded grout is commonly used on floors, shower floors, and other installations where grout joints are relatively wide and expected to hold up under wear.
TCNA’s FAQ is also useful at the upper end of the range. Once the joint gets beyond about 3/8 inch, the question is not merely “sanded or unsanded?” It becomes “is this a standard sanded grout or a wide-joint product?” Some manufacturers sell wide-joint mixes directly, and TCNA notes that some give instructions for adding coarse sand to regular grout for large joints.
In ordinary residential buying decisions, sanded grout is especially common for ceramic and porcelain floor tile in the 1/8-inch to 1/4-inch range. That does not make it a “floor-only” grout, but it does explain why many homeowners encounter it most often on floors: floor joints are frequently wide enough that sanded grout is the better fit.
The main limitation is scratch risk. A joint may be wide enough for sanded grout, but the tile face may still argue against it. Polished marble, honed limestone, glossy stone, and some glass tile can be marked by the sand. That is why width is the first rule, not the only rule.
For very wide joints, do not assume every sanded grout bag is interchangeable. A 3/8-inch joint and a 1/2-inch joint are not minor variations. If the manufacturer distinguishes between standard sanded grout and wide-joint grout, follow that technical data instead of treating the products as the same.
Unsanded Grout: Best for Narrow Joints and Specific Uses
Unsanded grout is generally the right choice for joints smaller than 1/8 inch, with many guides placing its best range between about 1/16 inch and just under 1/8 inch. It is also commonly recommended for backsplashes, shower walls, mosaics, and other vertical or detail-heavy work because the smoother mix is easier to press into tight spaces (Apollo Tile’s sanded vs. unsanded guide).
That smoother flow is the big practical advantage. In a narrow joint, unsanded grout can be worked down into the gap more easily, instead of bridging near the surface. Approved guidance also consistently ties unsanded grout to vertical applications because its smoother, paste-like consistency is easier to control in those settings.
Tile surface is the other major reason to choose it. On polished marble, limestone, and many glass tiles, unsanded grout is often preferred because it reduces the scratch risk associated with sand. This is one of the few everyday cases where tile type can outweigh the width rule, especially when the joint is right at the edge of the cutoff.
The tradeoff is shrinkage. Unsanded grout shrinks more as it cures, so if you use it in a joint that is too wide, it is more likely to crack, pull back from the tile edges, or need additional filling. That is why the “smoother is easier” logic stops working once the joint gets past its intended range.
So if you are buying grout for a backsplash with tight joints, polished stone trim, or wall tile that measures below 1/8 inch at the tile body, unsanded grout is usually the safer place to start. If you are buying for a floor with joints that truly measure 1/8 inch or wider, assume sanded grout is the usual choice unless the tile face gives you a reason to override it (Diffen’s comparison).
The 1/8-Inch Threshold: Gray Area Guidelines
Exactly 1/8 inch is where the clean rule turns into a judgment call. Installer-oriented guidance often treats that size as the dividing line, but also describes it as a gray zone: floors and traffic areas usually lean toward sanded grout, while walls and delicate tile often lean toward unsanded grout (Avance Floors’ 1/8-inch discussion).
In practical terms, that means a 1/8-inch porcelain kitchen floor will usually point you toward sanded grout. A 1/8-inch polished stone wall, decorative insert, or glass application may still point you toward unsanded grout because the tile surface is the bigger risk. The width matters, but the tile face and installation location can matter just as much.
Each choice comes with a different failure mode. Sanded grout at 1/8 inch can be stubborn to force into a truly tight joint, especially if the real space narrows at the tile body because of bevels, lugs, or small installation inconsistencies. Unsanded grout at 1/8 inch can go in easily but be less forgiving if the surface sees traffic or if the joint is wider in some spots than you realized.
This is why testing matters more at the threshold than anywhere else. If the tile is polished or soft, test the grout on a spare or offcut. If the joint is nominally 1/8 inch but measures tighter at the body of the tile, treat it as a narrow joint. If it is a floor and the tile is durable porcelain or ceramic, sanded grout is often the safer bet because shrinkage is the bigger concern.
The most useful way to think about 1/8 inch is not “either one is always fine.” It is: this is the point where width alone stops answering the whole question.
Beyond Width: Tile Type, Location, and Other Factors
Joint width should also reflect the tile itself. For this article, the primary rule stays the same: size the joint from the tile’s actual variation, with three times facial-dimension variance as the clearest formula in the evidence. That is the standards-based rule to trust when you need a number, rather than an aesthetic preference or installer shorthand.
Handmade and irregular tile make the point quickly. Fireclay states that its handmade tile can vary by about 1/8 inch in size and thickness, which is why larger grout joints are recommended for those products. With tile that variable, narrow-joint aesthetics are often unrealistic unless you are willing to accept a visibly uneven result (Fireclay Tile on grout size).
That is also why rectified porcelain and handmade ceramic behave so differently in the real world. Rectified tile is produced to tighter tolerances and can often support a cleaner, tighter look. Rustic edges, hand-molded products, and tiles with visible warpage usually need more room to absorb those irregularities without making the layout look crooked.
Location changes the decision too. Floors and wet floors generally reward slightly wider, better-packed joints, so once the width allows it they tend to lean sanded. Walls, backsplashes, and detail-heavy installations lean narrower and therefore more often toward unsanded. The grout is not only visual; it has to survive packing, curing, cleanup, and daily use.
Tile size plays into the width decision as well. General design guidance commonly pairs mosaics and other small-format tile with about 1/16-inch joints, while larger-format tile more often uses 1/8 inch or wider to help absorb dimensional tolerance and reduce visible lippage (clé tile’s grout-line guide).
Then there is surface hardness. This is where the width rule most often gets overridden in real buying decisions. If the tile can scratch, unsanded grout may be the safer choice even when the joint lands at the debated edge of the range. If the tile is durable ceramic or porcelain, width and location usually drive the decision more directly.
A simple buyer checklist helps:
- Are the tiles rectified, calibrated, handmade, or visibly size-variable?
- Is the joint width measured at the tile body, not just at the bevel?
- Is the installation a floor, wall, backsplash, shower floor, or exterior surface?
- Can the tile face scratch?
- Does the joint exceed the range for ordinary sanded grout and move into wide-joint territory?
Those questions usually get you to the right bag faster than the front label.
Risks of Mismatched Grout and Joint Width
Using the wrong grout for the joint width usually fails in predictable ways. If sanded grout is forced into joints smaller than 1/8 inch, the sand can bridge or clog near the top so the grout does not fully pack below. If unsanded grout is used in joints 1/8 inch or wider, the bigger problem is shrinkage during cure, which can leave cracks or grout pulled back from the tile edges (Diffen’s comparison).
That does not mean every mismatch fails immediately. A DIY forum thread about 3/8-inch porcelain floor joints filled with unsanded grout includes one user report of a similar installation lasting nine years without failure, though the grout reportedly looked dirty faster. That anecdote does not make unsanded grout correct for 3/8-inch joints; it only shows that wrong choices can sometimes survive longer than expected (DIY Home Improvement Forum discussion).
The reverse nuance appears in small-joint sanded-grout discussions. In a Houzz thread about a tub surround with joints under 1/8 inch, the practical advice was mixed: redo it if the joints were not packed well, but if the grout was forced in properly and is holding, a full tear-out may not be necessary. The hidden risk is voids below the surface where the sand kept the grout from reaching the bottom of the joint (Houzz discussion of sanded grout in small joints).
So the right takeaway is not “mistakes never matter.” It is that each mismatch tends to create a specific risk:
- Sanded too narrow: poor fill, pinholing, shallow joints, possible flaking.
- Unsanded too wide: shrinkage, cracking, or pull-away from tile edges.
If you discover a mismatch mid-project, stop before assuming the other grout type will blend seamlessly across the remaining area. Different grout types are different mixes, and the safer move is to check the manufacturer’s instructions before switching products on adjacent visible sections.
FAQ
What is the minimum grout joint width per standards?
The minimum commonly cited requirement is 1/16 inch (1.6 mm). The same technical bulletin also summarizes TCNA recommendations of 1/8 inch minimum for rectified tile and 3/16 inch minimum for calibrated tile, with added width for edge warping.
So 1/16 inch is a floor under the installation, not a promise that every tile can or should be set that tightly.
Can I use sanded grout in joints under 1/8 inch?
Usually not as the preferred choice. In joints under 1/8 inch, sanded grout can be difficult to force fully into the gap, which raises the chance of shallow fill or hidden voids. Anecdotal forum advice suggests some installations may hold if they were packed exceptionally well, but the risk is exactly that the grout may not reach the bottom of the joint.
If the joint truly measures under 1/8 inch at the tile body, unsanded grout is usually the safer buy.
Is unsanded grout okay for wide joints like 3/8 inch?
It is generally not recommended. At 3/8 inch, guidance moves beyond ordinary grout selection and into wide-joint or more heavily sanded grout territory. Anecdotally, some people have gotten away with unsanded grout in joints that wide, but those stories do not change the underlying recommendation.
So “possible” is not the same as “spec-correct.”
Does tile type change the 1/8-inch rule?
Yes. Tile type can change the practical answer at 1/8 inch. Scratch-prone surfaces such as polished marble, limestone, and some glass tile often push the decision toward unsanded grout even when the joint lands right at the threshold, because protecting the tile face may matter more than following the width rule mechanically.
By contrast, porcelain and ceramic usually let width and location drive the choice more directly.
How to calculate joint width for varying tiles?
Use the tile variation, not the spacer you hoped to use. The clearest cited formula here is that the actual grout joint should equal three times the variance in the tile’s facial dimensions. So if the tile varies by 1/16 inch, the joint should be 3/16 inch. If the tile varies by 1/8 inch, the joint should be 3/8 inch.
That is the main reason tight grout lines work best with very consistent tile and become risky with handmade, rustic, or warped products.
Match the grout to the real measured joint, not the marketing shorthand on the bag. For most cementitious grout jobs, that still means unsanded below 1/8 inch and sanded at 1/8 inch and wider, with extra caution for scratch-prone tile and for joints that move into wide-joint territory. Before you buy, confirm the tile’s actual size variation, measure the joint at the tile body, and verify the current standard or manufacturer guidance used on your project.