 MortarDesk
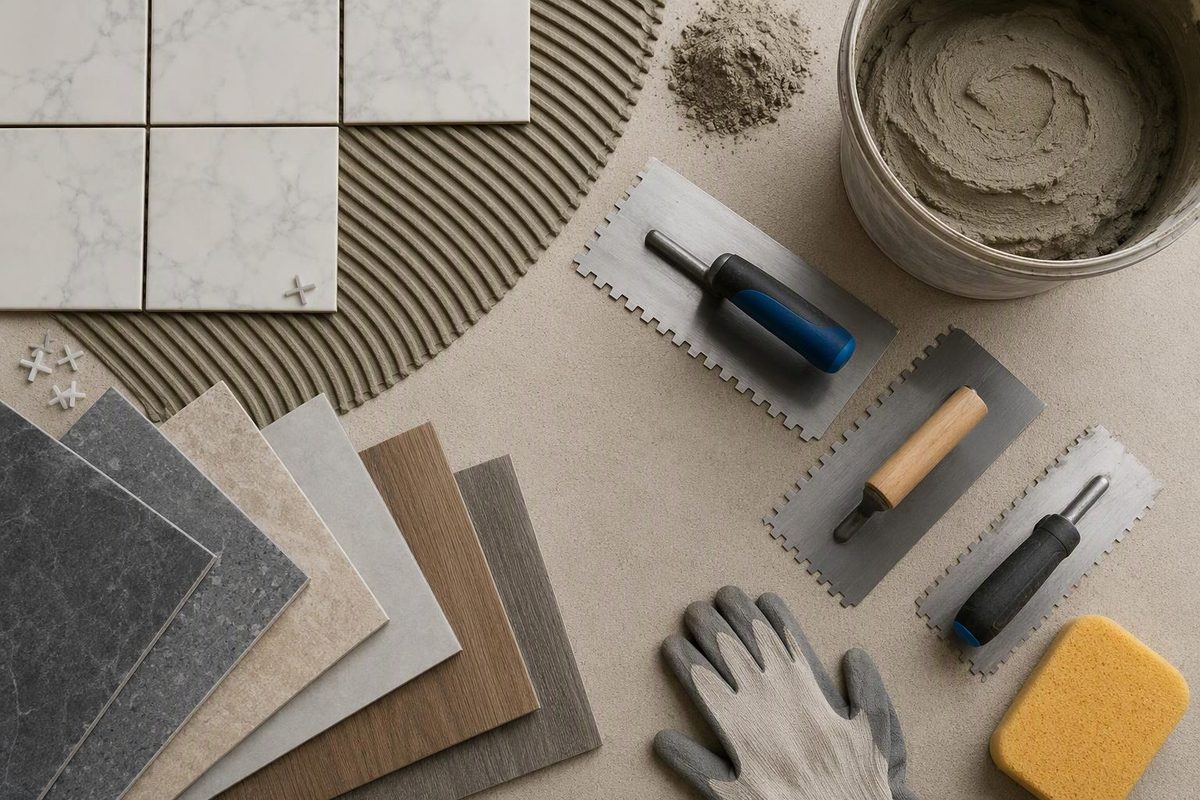
For many conventional porcelain-tile floors and walls, the first bag class to check is polymer-modified thinset mortar meeting ANSI A118.4. Choose a product also meeting A118.11 when the approved assembly bonds directly to exterior-glue plywood, or A118.15 when the specification calls for an improved modified mortar. Large or heavy tile may require a nonsag or nonslump large-and-heavy-tile (LHT) mortar.
These are starting points, not universal substitutions. The correct product must be approved for all four parts of the installation: tile, substrate or membrane, exposure and required bond-coat thickness.
“Thinset” is tile-setting material, not bricklaying mortar. See thinset versus masonry mortar if the product names are causing confusion.
What the ANSI numbers on the bag mean
ANSI A118.1, A118.4, A118.11 and A118.15 are distinct material specifications; ANSI A108.5 covers installation with these cement mortars. As of September 2026, TCNA lists the current A118.1, A118.4 and A118.15 editions as 2023, and A118.11 as the 2017 edition reaffirmed in 2022 (TCNA standards register).
| Bag marking | Material class | What it tells the buyer |
|---|---|---|
| ANSI A118.1 | Dry-set cement mortar | Unmodified mortar. Use only where the tile and assembly instructions permit it. |
| ANSI A118.4 | Modified dry-set cement mortar | Polymer-modified mortar for approved tile, substrates and exposures. This is a common starting class, not approval for every job. |
| ANSI A118.11 | EGP modified dry-set mortar | Tested for bonding to exterior-glue plywood. It does not make OSB, particleboard or an unsuitable wood floor acceptable. |
| ANSI A118.15 | Improved modified dry-set cement mortar | Higher-performance modified class. Some bags add suffixes such as H, E or T for large-and-heavy-tile performance, extended open time or reduced vertical slip. Read that product’s data sheet. |
A product can meet several standards. For example, one current LHT mortar is marked A118.4HET, A118.11 and A118.15HET and permits a 3/32–1/2 in. (2.5–12 mm) bond coat (MAPEI Large Tile & Stone Mortar data sheet). Another LHT product permits up to 3/4 in. (19 mm) after tile embedment on horizontal surfaces (Custom ProLite data sheet). Do not transfer one product’s thickness, water ratio or cure time to another bag.
Select by assembly, not by the word “thinset”
Check the following before purchase:
- Tile: Ceramic, porcelain, glass and natural stone do not automatically use the same mortar. Resin-backed or moisture-sensitive stone may require epoxy or another specialty adhesive. Light or translucent stone commonly requires a compatible white mortar.
- Substrate: Confirm that the exact mortar allows concrete, cement backer board, gypsum board, plywood, an existing tile surface or the named membrane. Approval may be limited to dry interiors.
- Exposure: Dry interior, shower, exterior, freeze/thaw and submerged work are separate conditions. Thinset mortar itself is not a substitute for waterproofing; one current manufacturer sheet expressly makes that distinction (Laticrete 253 ATS data sheet).
- Tile size and weight: Select an LHT mortar when required by the tile or setting-material manufacturer. It helps support tile at an allowed thicker bond coat, but it is not a floor-leveling compound.
- System compatibility: A mortar generally suitable for porcelain may still conflict with a membrane manufacturer’s instructions. A system-specific modified mortar, for example, can be approved over that manufacturer’s waterproofing and uncoupling products (Schluter ALL-SET data sheet).
Do not treat a bucket labeled “premixed thinset” as interchangeable with bagged cement mortar. Organic tile adhesive has its own material specification, ANSI A136.1, and its installation is covered by ANSI A108.4; A108.5 covers dry-set and modified dry-set cement mortars (TCNA standards register). Check the bucket’s approved tile size, location and exposure rather than relying on the shelf name.
Trowel size is verified by contact coverage
A trowel recommendation is a starting point. The controlling result is mortar transfer after a tile is lifted:
- More than 80% contact for dry interior applications
- More than 95% contact for exterior and wet applications
Current manufacturer instructions call for keying mortar into the substrate with the trowel’s flat side, combing straight parallel ridges, moving the tile across those ridges to collapse them and periodically lifting tile to inspect coverage (MAPEI application instructions). Back-buttering may be needed, especially with larger or uneven-backed tile.
Do not use extra mortar to flatten a deficient floor or wall unless the product and assembly expressly allow that operation. Correct substrate flatness first. LHT mortar supports tile within its listed thickness; it does not erase substrate-tolerance requirements.
Coverage: use the exact bag and trowel
Coverage changes sharply with notch size, tile-back profile, substrate texture, application angle and back-buttering. One current 50 lb. (22.7 kg) LHT mortar gives these estimating ranges:
| Square-notch trowel | Published coverage per 50 lb. bag |
|---|---|
| 1/4 × 1/4 × 1/4 in. (6 × 6 × 6 mm) | 85–95 sq. ft. (7.90–8.83 m²) |
| 1/4 × 3/8 × 1/4 in. (6 × 10 × 6 mm) | 65–75 sq. ft. (6.04–6.97 m²) |
| 1/2 × 1/2 × 1/2 in. (12 × 12 × 12 mm) | 40–50 sq. ft. (3.72–4.65 m²) |
These figures are specific to that product, and its data sheet says actual consumption must still produce the required contact coverage (MAPEI coverage table). Lightweight mortars and different bag weights can yield very different areas.
Worked purchase example
A project has 100 sq. ft. (9.29 m²) of 12 × 24 in. porcelain tile in a shower. The waterproofing-system and tile instructions both permit a selected modified LHT mortar. Test placement shows that the product’s 1/2 × 1/2 × 1/2 in. trowel, straight ridges and back-buttering achieve the required wet-area contact.
Using the published 40–50 sq. ft. per 50 lb. bag range:
- Best-case estimate: 100 ÷ 50 = 2 bags
- Conservative estimate: 100 ÷ 40 = 2.5 bags
- Calculated purchase minimum: 3 bags, rounded up to whole bags
That quantity is for setting mortar only, not for flattening the wall, bedding backer board or installing a membrane. It also assumes the cited coverage range is achieved. A test lift showing inadequate coverage overrides the estimate: adjust the approved trowel or technique, then recalculate consumption. Confirm that all bags are the same product and within their stated shelf life.
Mixing and timing are product-specific
Measure the stated water quantity, mix at the listed low speed, observe the slake period and remix without adding water unless the instructions expressly allow it. Published directions differ: current products specify different water volumes, mixing speeds, slake times, pot lives and waiting periods before grouting or traffic. Hot, dry conditions can shorten useful open time.
Remove mortar that has skinned over on the substrate; do not revive stiffening material by adding water. Portland-cement mortar can damage skin and eyes, and products containing respirable crystalline silica require the dust controls and protective equipment stated in the safety data sheet. For the full sequence, use the thin-set mortar mixing and application guide.